Ultimate Guide For Home Roasting 2024

Roasting coffee is a creative journey, turning green beans into a sensory delight. Whether you use high-end equipment or a simple stovetop pan, home roasting is a blend of precision and experimentation. This guide equips you with the essentials for home roasting, accommodating various methods and skill levels. Coffee roasting is an exciting, experimental process—no step-by-step recipes here. It’s an art, not just science. Get ready to play, experiment, and, yes, maybe burn a few beans along the way. This journey is about enjoying the process and finding your unique roast.

Select Your Coffee Roaster
Roasting coffee. The art of transforming green beans to brown. Seems straightforward initially. However, mastery demands careful attention to details. Especially as you approach the final stages.
When it comes to roasting coffee, various methods cater to different preferences and budgets. The choice depends on your willingness to invest in equipment and the quantity of coffee you plan to roast. It’s a journey from simplicity to precision. Your selection determines the depth of your home roasting adventure.
For beginners, using a domestic oven or a stovetop popcorn popper is a straightforward approach. Simply spread a layer of beans on a baking tray and roast in the oven for about 15-20 minutes. Stovetop popcorn poppers offer a larger batch size and better temperature control. You can adjust the gas flame and agitate the beans by cranking the handle, ensuring a more uniform roast coloration. This method provides a simple yet effective entry point to the world of home roasting.

Investing in purpose-built home coffee roasters offers greater control over the roasting process. These machines provide features like precise temperature control, optimal airflow, and efficient chaff collection (the papery material released during roasting). With such equipment, you can achieve a consistent roast, ensuring even coloration on the bean surface without the risk of scorching or tipping. Home coffee roasters designed for specific use empower enthusiasts to refine their roasting skills and produce high-quality, customized coffee.
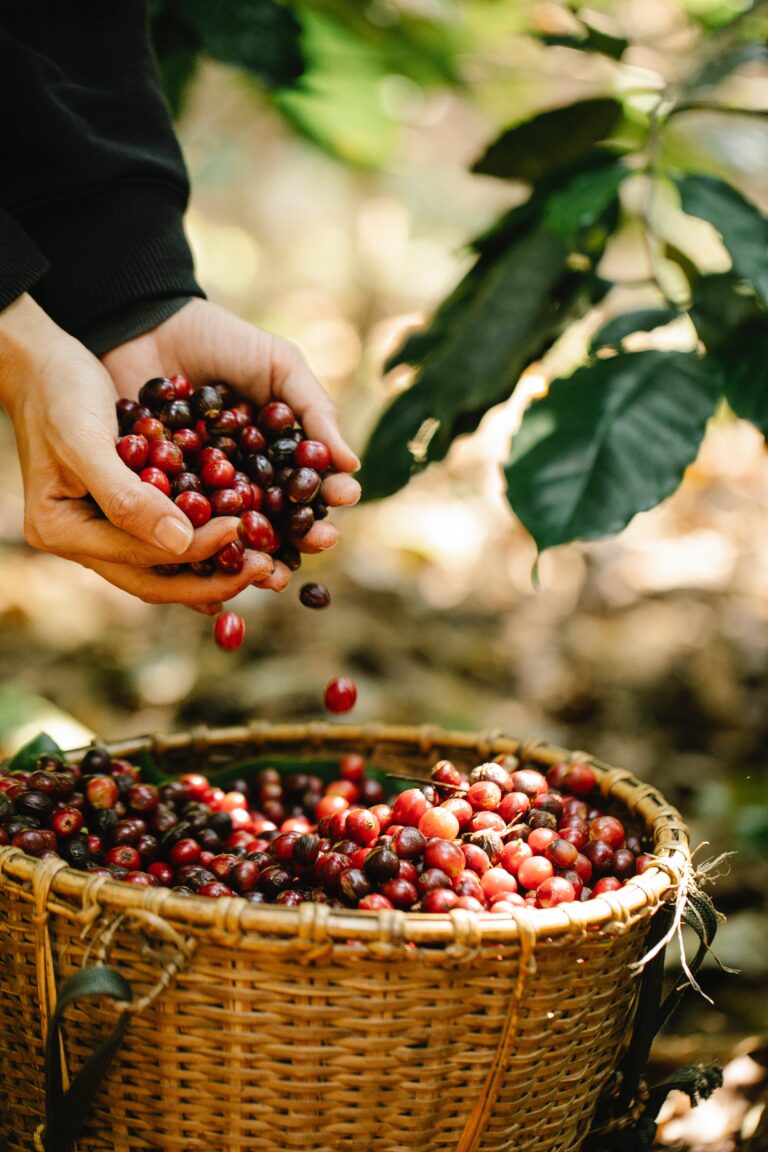
Choose Your Beans Wisely
Our suggestion is to deliberately select beans that exhibit significant differences in taste. By choosing beans sourced from various countries and processed using different post-harvest techniques, you’ll embark on a flavorful journey that unveils the rich diversity within the world of coffee. This intentional variety in your selection will not only make the roasting process more engaging but also allow you to discern and appreciate nuanced flavor distinctions more effectively. Each cup brewed from these distinct beans will offer a unique experience, helping you refine your palate and deepen your understanding of the multifaceted and intricate realm of coffee flavors.

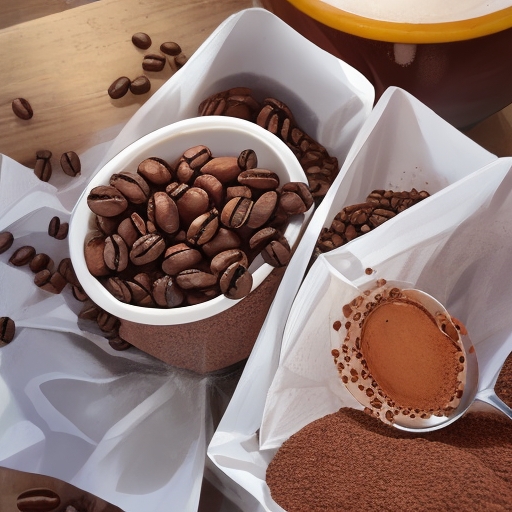
Steps for the Roasting
Mastering the ability to discern the progression of the roast and identifying the various stages is the subsequent step to gaining command over flavor development. Understanding that distinct roast profiles yield different flavors in the final cup is essential. It’s in these nuanced stages of roasting that the alchemy of coffee flavor takes place, and each profile imparts its unique character to the beans, influencing the taste notes that will ultimately be extracted during brewing. By honing your skills in recognizing these stages, you empower yourself to tailor your roast to achieve the specific flavor profile you desire, allowing for a truly customized and satisfying coffee experience.
Start of the Roasting:Color Changes
As the roasting process commences, the beans initially retain their green hue. However, a few minutes into the process, a remarkable transformation unfolds, and the beans undergo a gradual shift to a warm peanut color, adorned with a light yellow or golden hue. This pivotal moment is accompanied by the emergence of distinct aromas reminiscent of grass and hay, signaling the beginning of the beans’ journey toward the development of intricate flavors that will define the character of your coffee. Understanding and recognizing this color change is a key milestone in the art of roasting, setting the stage for the subsequent stages that contribute to the final flavor profile of the beans.
Roasting Procedure: First Crack
In the second stage of the roasting process, a notable transformation occurs as the bean surface undergoes drying, resulting in a wrinkled appearance. As this happens, steam begins to rise from the beans, releasing fragrant aromas reminiscent of baking and toast. Keep your senses alert, as this stage introduces a significant moment: the “first crack.” This exciting phase is marked by an audible crackle or pop, indicating that sugars within the beans are starting to caramelize. Simultaneously, water escapes in the form of vapor, and the steam causes the cell structure of the bean to break open. This critical juncture in the roasting journey brings forth the dynamic interplay of flavors and textures that contribute to the unique character of your coffee.
Once you reach this point, you can deem the roast complete, and you’ll have a perfectly drinkable coffee with a light roast. However, the journey doesn’t necessarily end here; it’s an opportune moment to embark on experimentation. Going beyond this stage allows you to explore various styles and create a flavor profile that aligns with your unique preferences. Whether you prefer a lighter roast or seek to delve deeper into the nuances of roasting, this flexibility offers an exciting realm of possibilities for crafting the perfect cup of coffee to suit your taste buds.

Roasting Procedure: Caramellisation
Continuing the roast beyond this point causes the oils to migrate to the surface. As the roast progresses and the color darkens, each bean expands. We recommend stopping around the verge of the “second crack” for a well-balanced result.
Ending the Roasting Procedure!
After attaining the preferred hue and roast degree, transfer the beans into a metallic sieve and gently blow to eliminate any residual chaff. Remember, there is stored heat in the beans, causing them to keep roasting even post-heat removal, akin to how an omelette undergoes residual cooking after leaving the pan. Hence, strive to extract the beans from heat slightly ahead of achieving your desired roast to accommodate this. Perfecting this timing might require a few attempts
After your beans have completely cooled to room temperature, we suggest storing your coffee in an airtight container. For optimal results, let the coffee vent (de-gas carbon dioxide) overnight before sealing. Ensure your roasted coffee is kept in a cool, dry place away from direct sunlight, and it will maintain its quality for up to 6 weeks. The same storage conditions apply to green coffee, which can be stored for up to 6 months.
For filter brewing, the peak flavors will unfold overnight. However, if you’re inclined towards espresso, it’s advisable to allow several days for degassing before preparing your shots.